home

Showing posts with label DIY. Show all posts

1] Begin with your square scarf and your plain elastic headband.
(Some vintage scarves can be found at your local swap meet or on etsy and I used these basic headbands.)

2] Roll/fold your scarf up onto its self.

3] Tie the scarf around the headband in a single knot. 

4] Use no sew or fabric glue and sneak a dot of it under the knot to keep it in place. 

5] Apply pressure. 

6] Finish it off by placing a dot of glue under each end and holding them in place until it sets. 


This is seriously so easy and makes a great headband for working out, washing your face, or simply framing your beautiful face. Make it for yourself or gift it as a gift. 
Enjoy!
xo


DIY: felted garland

While I was getting ready for my best friend's baby shower I knew that I wanted to hand make a few things that she could take home with her and incorporate into the nursery. As she established her nursery theme and colors I had a vision for a pennant garland that she could hang in the nursery. 

With the help of a dear friend who is a felting pro I grabbed the felting wools. I used pure, thick, ivory wool for the triangles and mixed felting wools for the perfect color of coral that I needed. 


Using felting needles and a felting mat I felted her little one's name into the pennants. [You can find felting supplies here.] I love the way the name turned out!


Then I used this "sew no more" fabric glue to attach a scalloped lace along the top. 


After letting it dry over night I cut the lace to match the triangles edges so that it would hang correctly. Lastly I trimmed the top with a sparkly silver ribbon.  


Here it is all finished helping to decorate the welcome table at the shower. Hopefully sometime soon I'll be able to share how it was used in the nursery. 


DIY: baby shower invitation: [cute as a button]


My best friend is having a baby girl and I couldn't be more excited for her. This weekend we are going to shower her in love, love, love. Making the invitations for her shower was pure joy. She wanted a shower that was a rustic and beautiful spring tea party. Not the kind of tea party you had as a kid or the kind that you would have at high tea with the queen. This party will be an iced tea, spring warmth, mini foods, delight! 

Here is the step-by-step for the invite:


You'll need...


I designed the layout on my computer using two contrasting typefaces, a centered alignment, coral and mint coloring, on a 5x7 ivory card stock. 


Once I had the invitations all printed out, I punched two holes in the top center about an inch apart. I made sure to punch them high enough up so that when the fabric ribbon was added, it wouldn't cover the type. 


I bought grey linen fabric from Mood and cut it about 4 inches long then frayed the edges. 


pull one side through the punched hole...


then the other...and flip the invite over.


take both ends in one hand and punch them together making sure the fraying is laid out how you want it.


lay it back down and stretch the ends equally and taught, flattening them out...


pinch one side towards you and feed it back through to the front. repeat on the other side as well...


*the action of pinching your ribbon or fabric towards you is a crucial step. if you do this step correctly, then the ribbon will lay flat on the front of the invite


flip the invite over. pull the ends outward and "fluff" the edges so that they look how you want them to. 


using a small dot of glue (which dries clear) apply the button. hold down the edges of the button for 10-15 seconds so that it adheres to the ribbon. 


give it time to set and dry and you're all set


repeat.repeat.repeat


hand address your envelopes for an intimate and personal touch & and you are ready to put them in the mail and send them off. the best part is that you have a customized invite, embellished with an adorable button and the postage is no higher than normal. 


 the invites are out, the RSVPs are coming in (yes, even still), and we are ready to celebrate the joy of baby Emi growing in Christine's belly!

YAY! next week I'll be back with a little recap of the shower for ya!


DIY: floral love

The joy of flowers is one that I never get over. So as I continue to play with the bundles I bring home I'll keep sharing around here in hopes that you are inspired to keep fresh flowers around your place too. I seriously think it brightens every room and lifts every mood. ENJOY!


DIY: terrarium


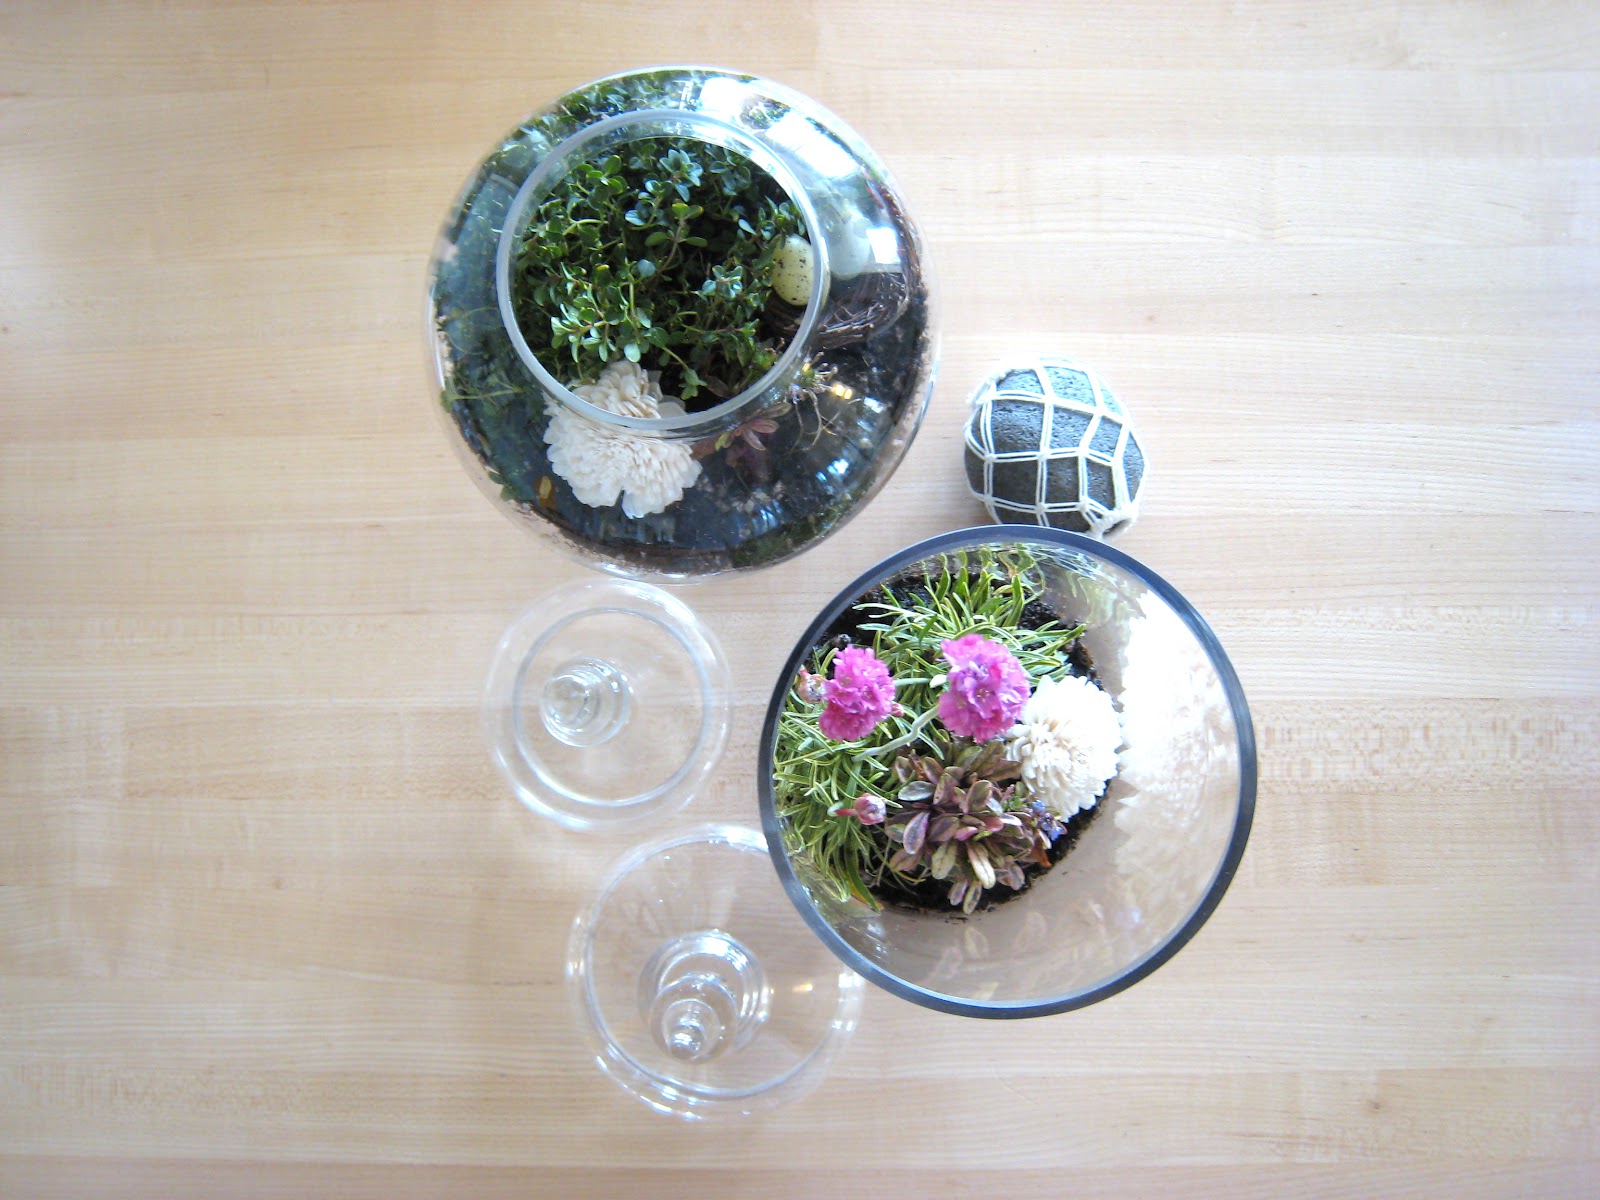
Terrariums are the perfect way to have an easy going house plant that provides a mini world of wonder. I love looking inside the terrarium, all closed in, and imagined a teeny tiny world inside with creatures hiding under every leaf. 

Hopefully this how-to for your home inspires you to make something beautiful for yourself or someone you know would adore it. It really isn't hard or expensive. 

I made these as a Mother's Day gift last year. I don't think there is anything better for a mom than the time you can spend with her and a gift that you made. 

So, let's get started...shall we?


similar found here:


similar found here:

These are the plants I used...


You want plants that will take well to a lot of humidity with the lid on the apothecary jar. When you go to a nursery they can tell you about what plants are best suited for a terrarium as well as the light in the room you plan to have them in. 


And...


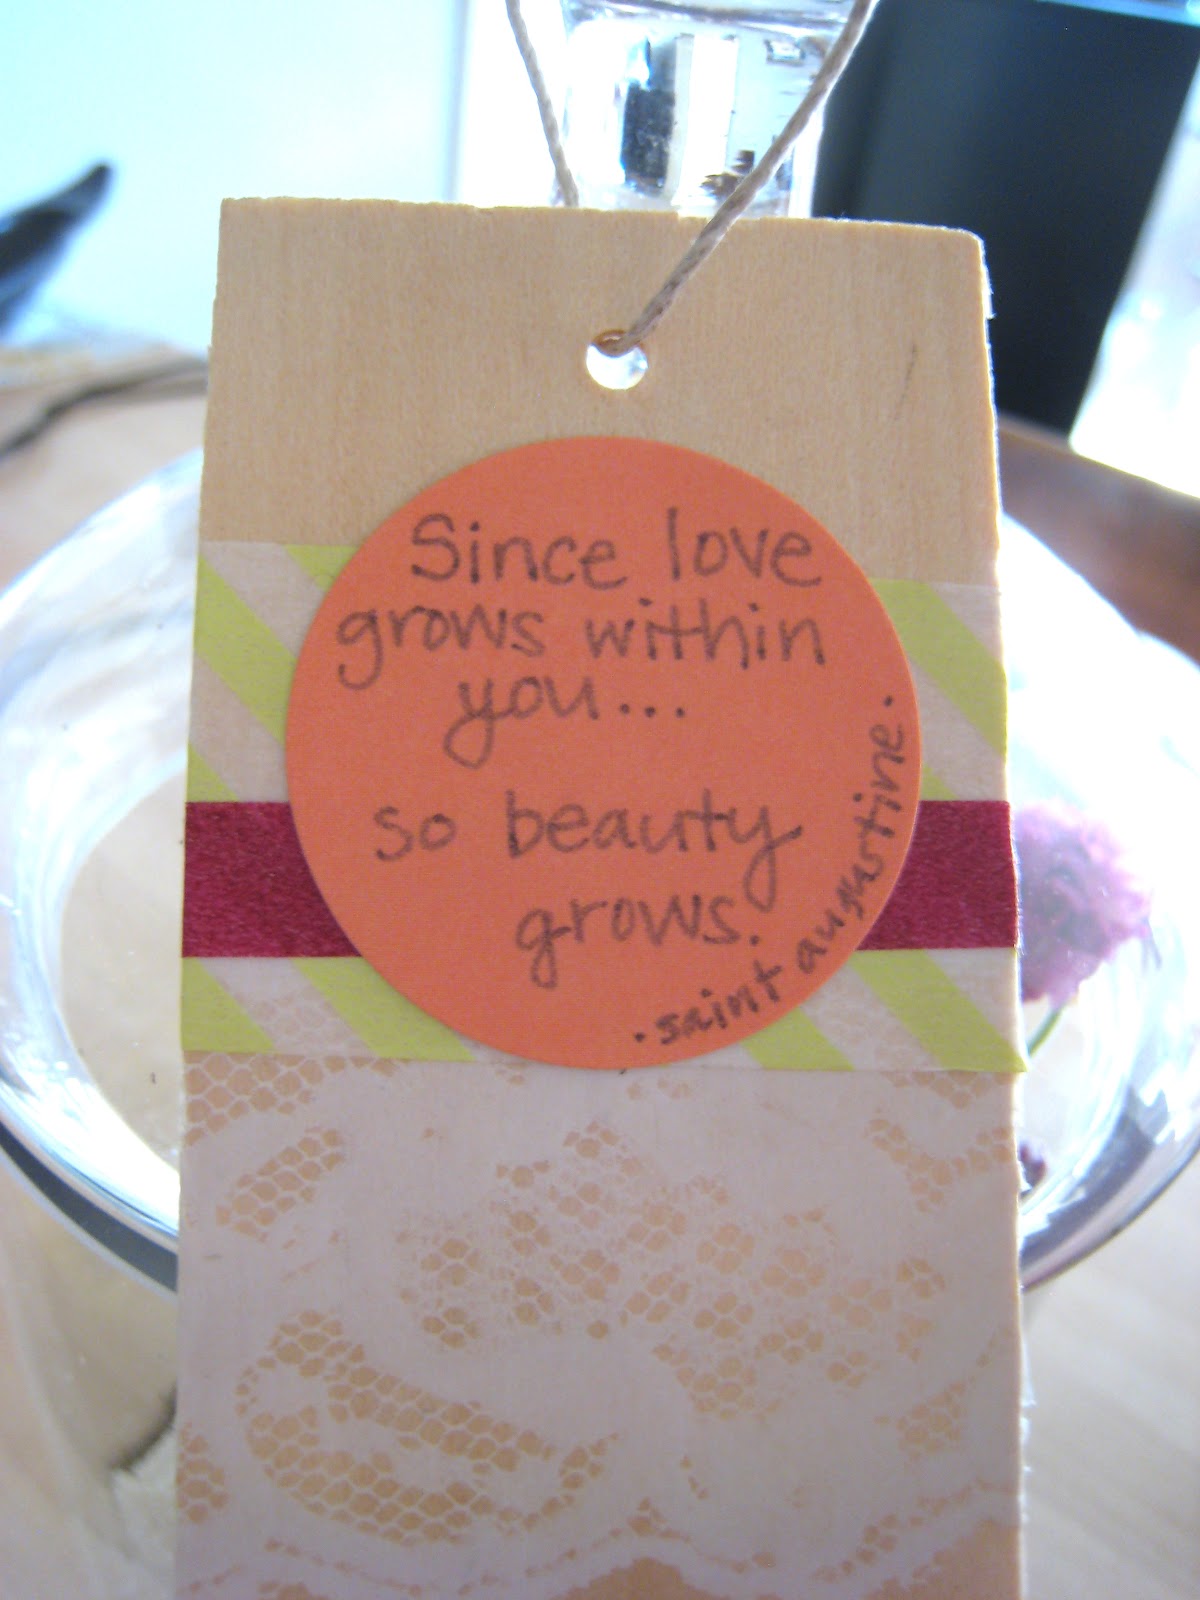
Simply add a homemade gift tag like this...


I loved this quote because it was both about growth (like the plants) and about love & beauty. Perfect for Mother's Day no?

All I used for this was a wooden tag, some wash tape, lace packing tape, & color coded dot labels. 


Hopefully this inspires to you to make a terrarium of your own or one for someone you love. If you have any questions please ask! It was super fun to make and my mama loved it!

DIY: minted clutch

[DIY clutch and photos for by way of ney]

So we've all got that bag lying around. The one that we don't really use any more because we don't love, or have a purpose for, but we haven't donated to the nearest Goodwill yet either. Well, hold onto to it! And turn it into something beautiful and functional to you. 

You'll need:

an old fabric bag
(could be a zippered pouch, a canvas tote, any one you've got lying around)
(obviously you could always do this by buying a blank canvas bag from the craft store)

(the paint used here is the glossy Sea Glass)

a wide square-tipped paint brush

(the one used here is the Honeydew)

scrap beads
(mine are from a necklace that broke)

Begin:


Prep your area with something to catch any misguided paint, paper towels and water.
Cut a piece of cardboard the size of your bag and place it inside so that the paint doesn't seep through and stick to each other on the inside. This also helps in the painting process as it keeps the bag rigid. Paint away. I find that it works best to coat the fabric if you paint in multiple directions rather than sticking to a one directional brush strokes. Let it be while it dries. Have a cup of tea or a little snack and when you come back, it'll be ready for another coat. This paint dries quickly! Without a second coat you will be able to see some of the pattern from the original fabric. 


Once your bag is completely dry you can pick it up and remove the cardboard inside. To add a tassel, cut your twine into eight pieces approximately 6 inches long. String your beads onto each end and tie it off so they won't fall off. (You could skip the beads, do one bead on each end, or multiples. I chose three.) Once you have each of the eight pieces strung and tied you are ready to fold it in half, thread the end with no bead through the zipper pull, then thread the beaded ends through the hole created by and at the folded end. This way you don't have any "tying" to do but the tassel is completely attached. 

AND ta-da...you're done! A water resistant clutch to take anywhere. You can use it as a clutch, as a catch all in your gym bag, in the car for backup supplies, makeup, or first aid...you name it, it does it! It really is as easy as could be. This whole project probably took me 1 hour (plus dry time). 

Go find that old bag lying around your house and make it new!
Have fun!


baby brunch

I promised today's post would be about the baby brunch we hosted for Dana, so here you have it.  Yesterday seemed to come to fast...how was is Monday already. It was one of those days. Hard to get up, hard to get through. Looking back at these photos makes smile so it's a perfect day to share them.

 It was the perfect mini get together. We drank mimosas with fresh squeezed oj, coffee and lemon water. We ate yogurt with berries & granola, muffins, bagels & cream cheese and fruit bowls. We smothered the mama in cute little girly things. (Dana said she didn't want presents but how can you resist the teeny tiny things for a baby girl...you can't!) Most importantly of all we got to spend the morning together.

[Tawni, Mama Dana, Me]

I knew as soon as we decided to host this little get together that I wanted to keep the table setting simple and colorful. The table covering is simple kraft paper, the place holders are paper doilies, the vases are plain clear cylinders with zig zag cut fabric tied around them and filled with all types of mums.
[the table setting]
[Emily, Amanda, Ivy]

[a variety of mums, a clear cylinder vase, fabric tie to adorn, a paper doily]

I have wanted to use the gorgeous goodies from Shop Sweet Lulu for quite some time and this was the perfect time to do it. Their product is adorable, they are affordable and they shipped SO fast!
[striped straws from Shop Sweet Lulu and hand stamped place holder doilies]

[favors; cookies in yellow chevron bags and glassine bags (from Shop Sweet Lulu), fabric strap ties, dried mums and millinery leaves]
[striped pink paper straws also from Shop Sweet Lulu]


[Meagan, Me, Mama Dana]

[Vanessa of a fashion gal & a fireman, Ivy, Meagan]

[Mama Dana with the cutest baby girl outfit ever (vest embellished by Vanessa) & Jess]


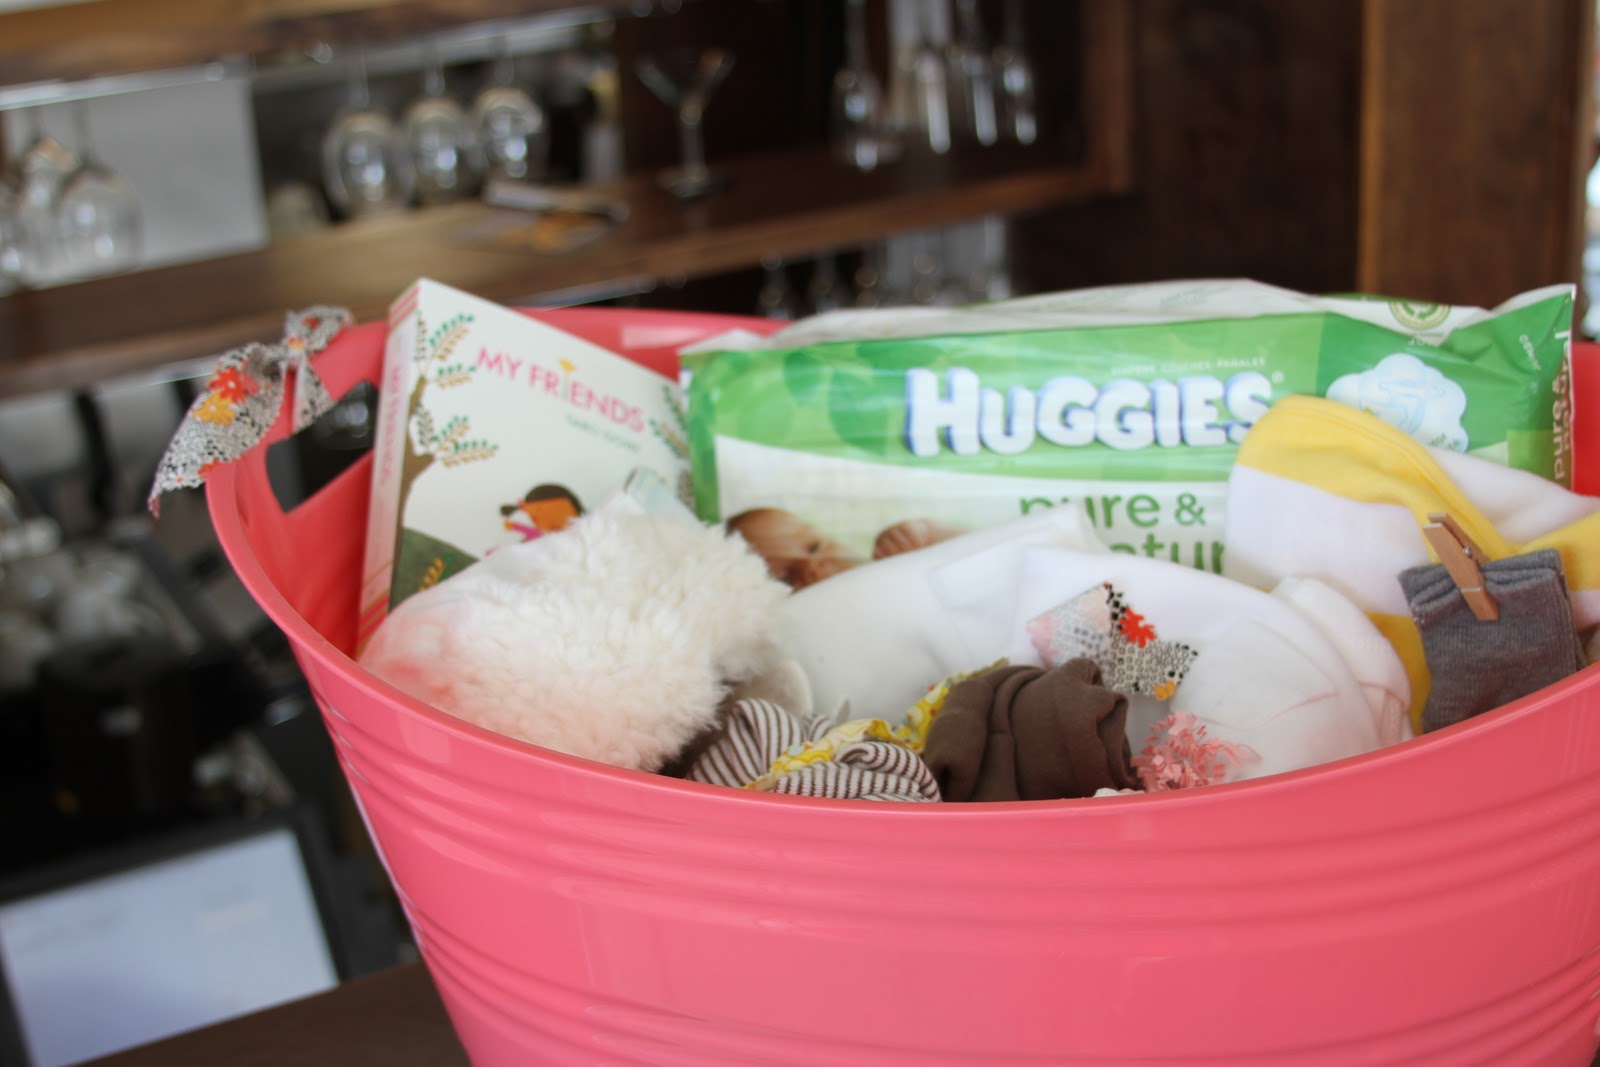
[my bucket o' goodies for the baby girl]
[cutest trapper hat ever, cutest book ever, striped hoodie towel & more]


[Vanessa, Meagan, Me, Tawni, Jess, Dana, Emily, Amanda, & Ivy]